
Pay-Per-Call is one of the most effective ways to generate high-quality leads. Instead of getting paid for someone filling out a form, you get paid when someone makes a phone call. These calls tend to convert better because you're connecting with real people in real time.
In this guide, I’ll walk you through exactly how to set up your first Pay-Per-Call campaign using Facebook Ads, even if you’re brand new. We’ll use three simple tools to make it all work:
🧠 Why Facebook Works So Well for Pay-Per-Call
Facebook is still one of the top traffic sources for Pay-Per-Call. It lets you target people based on interests, demographics, and behaviors. Plus, you get social proof through likes and comments, which helps build trust.
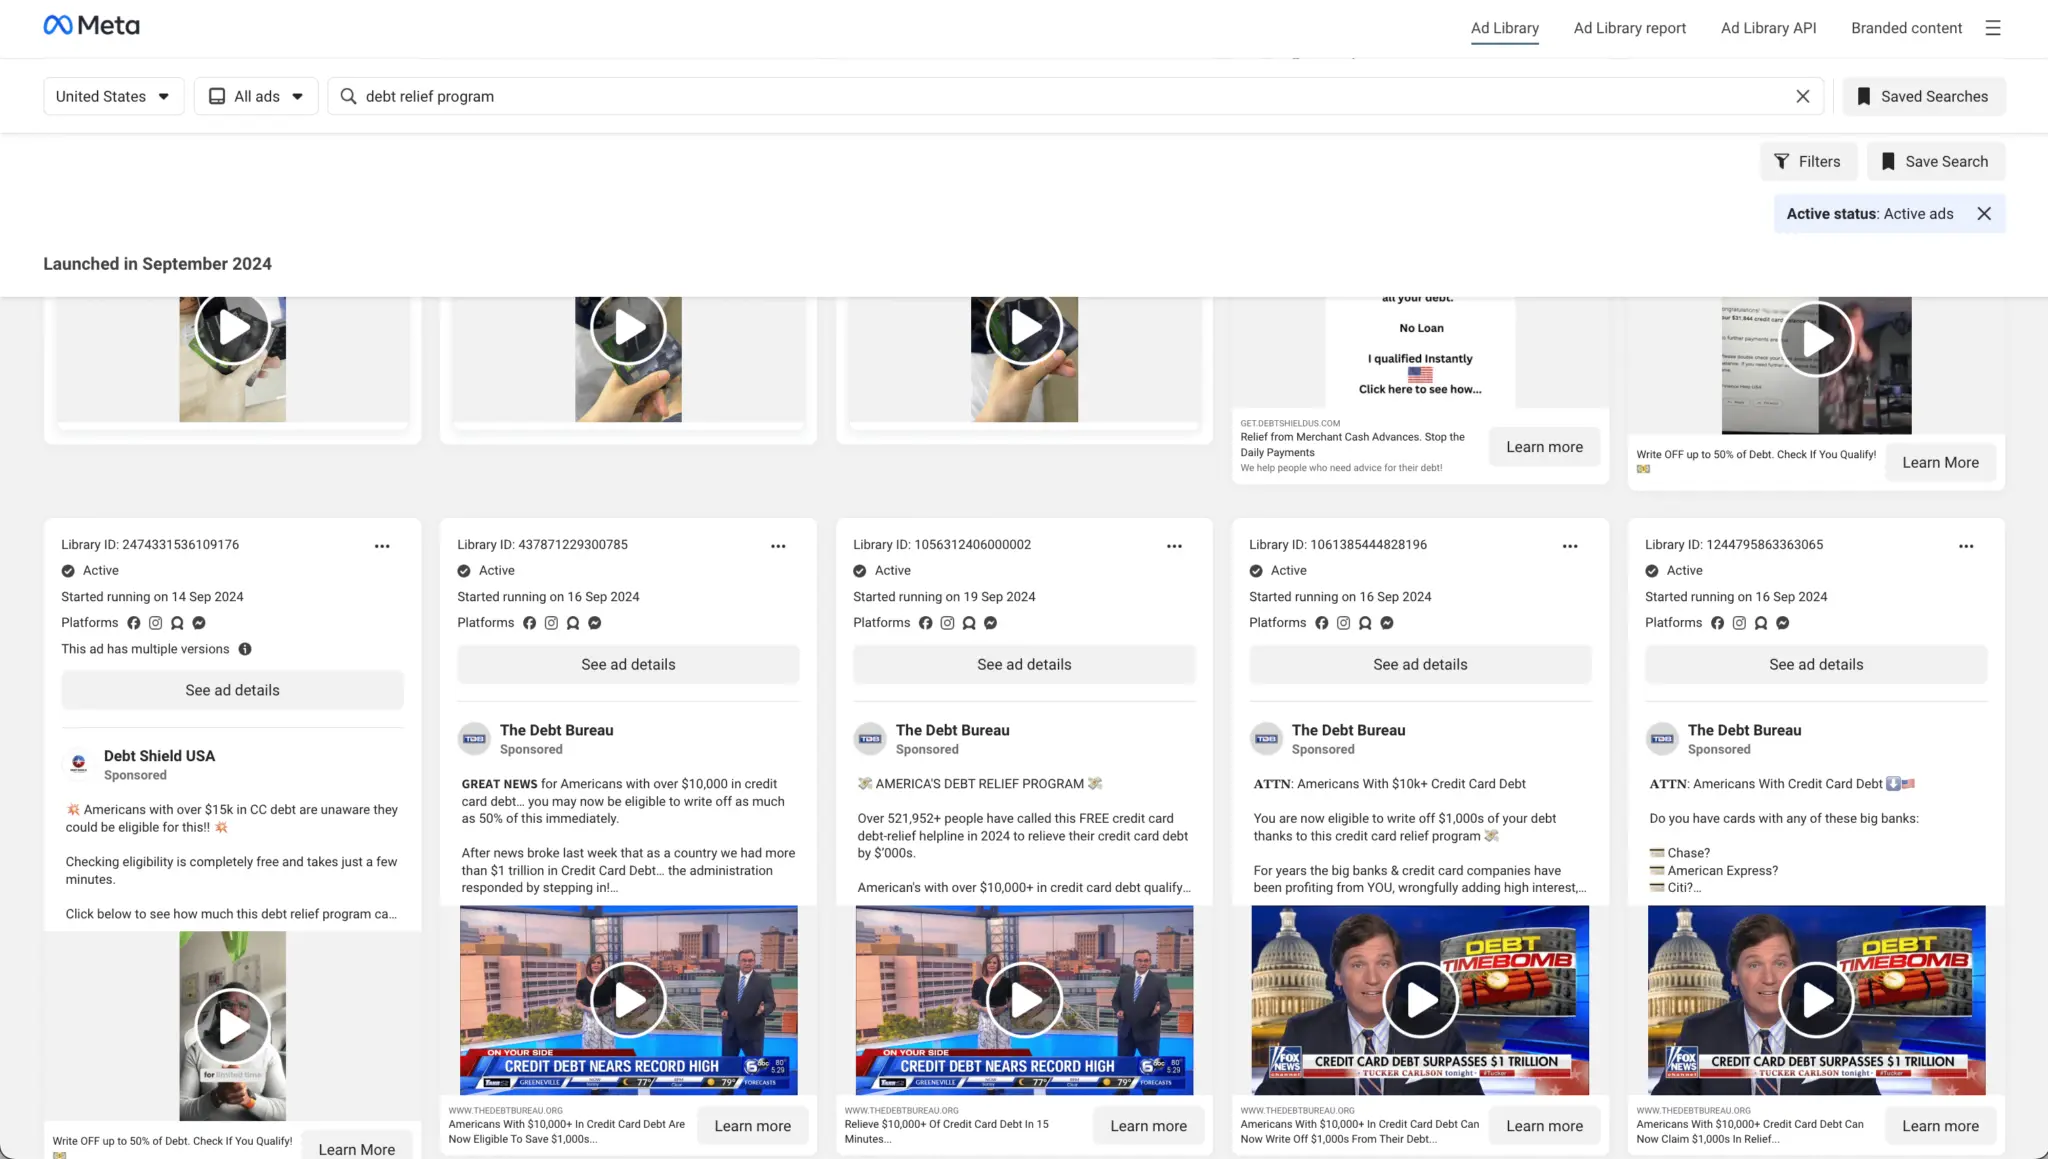
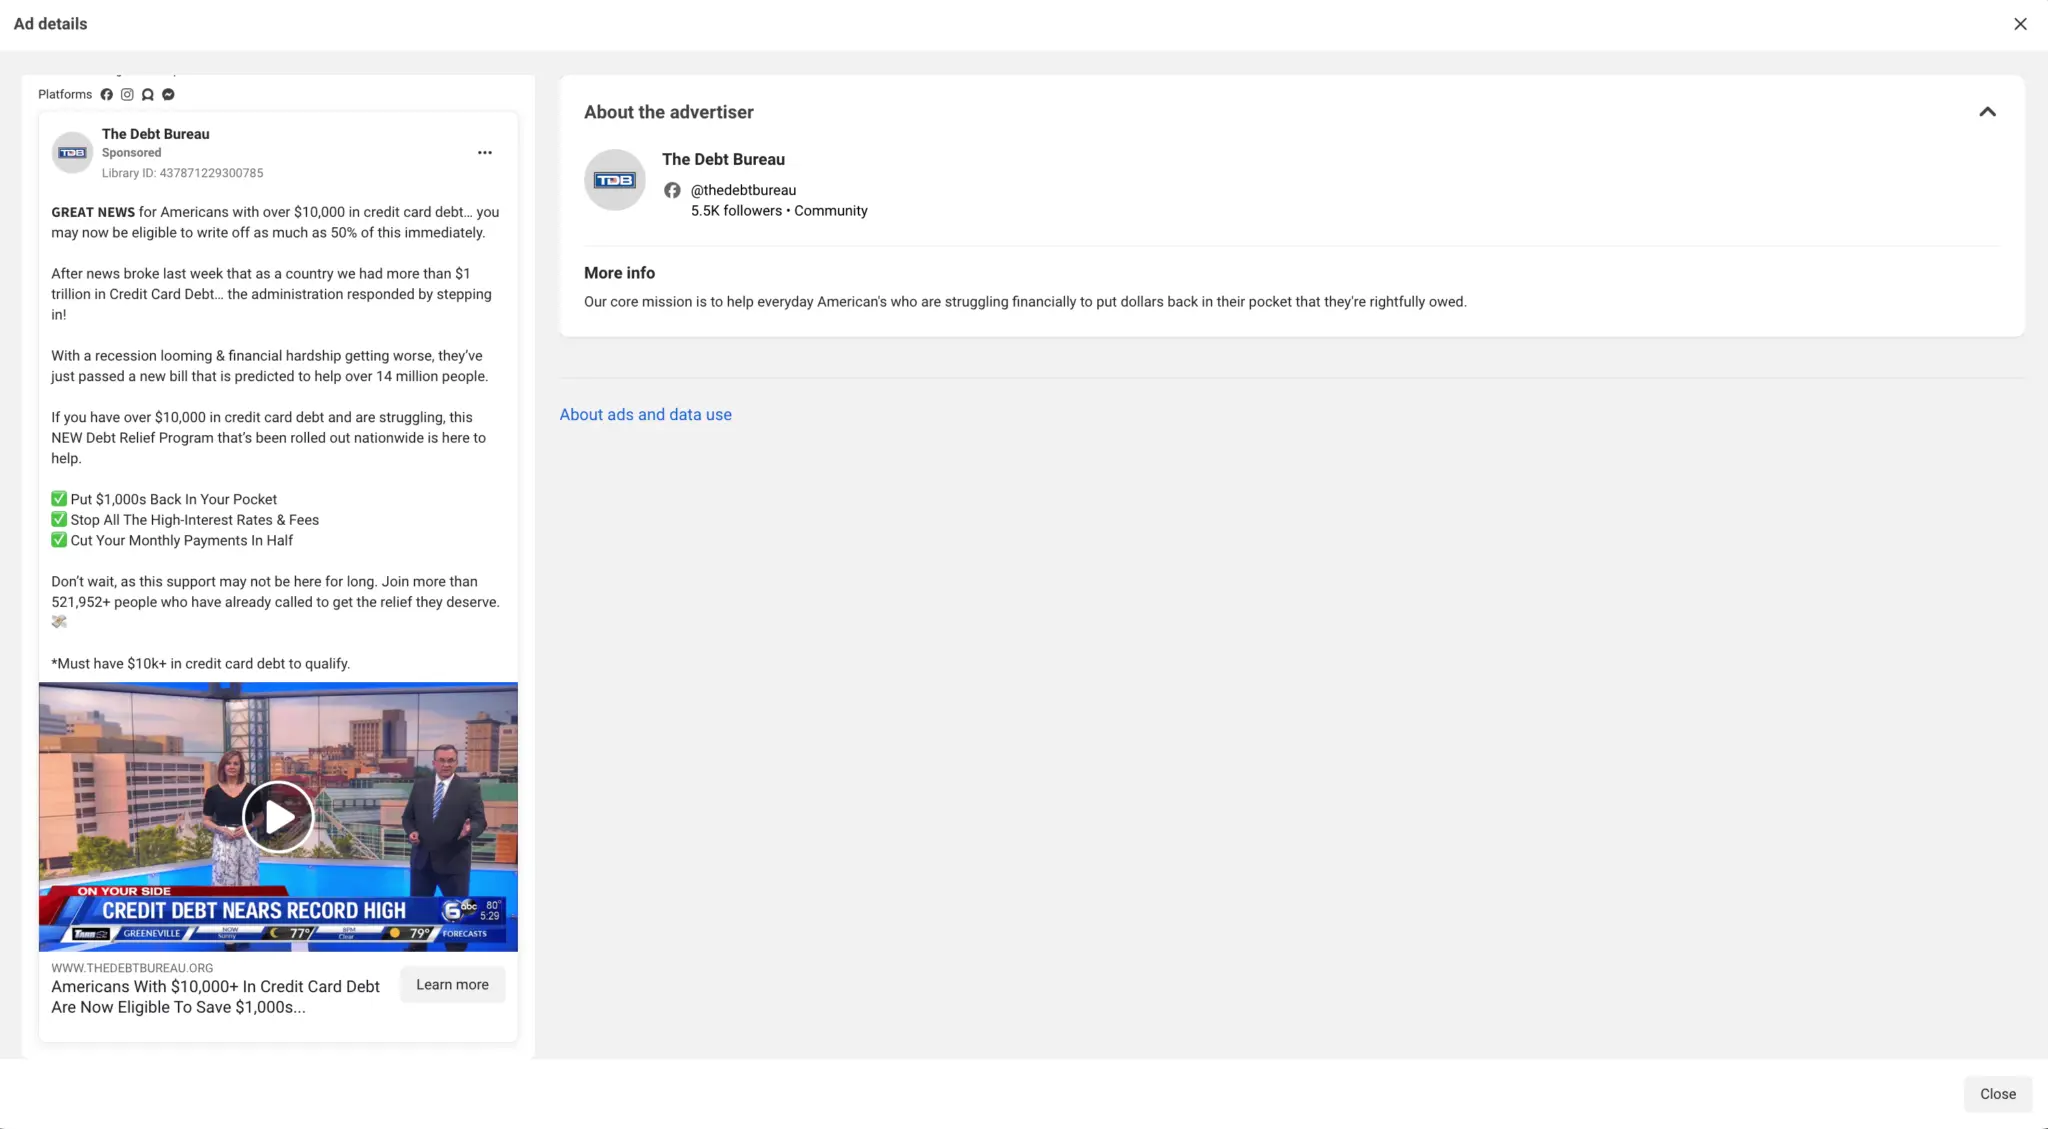
A great place to start your research is the Facebook Ad Library. Search for offers in niches like Debt Relief and see which ads have been running for weeks or even months. If they’ve lasted that long, they’re probably working. Use those ads for inspiration but don’t copy them exactly.
You can also ask your affiliate manager what kind of audience works best for the offer. For example, if you’re promoting a debt relief offer, they might tell you to target people with over $10K in unsecured credit card debt.
🔧 Tools You’ll Need
☎️ Step 1: Set Up Your Ringba Account
Start by creating a call campaign in Ringba:
Make sure to turn on tracking URL parameters, especially clickid, which will let you track conversions in ClickFlare later.
🌐 Step 2: Build Your Landing Page in LanderLab
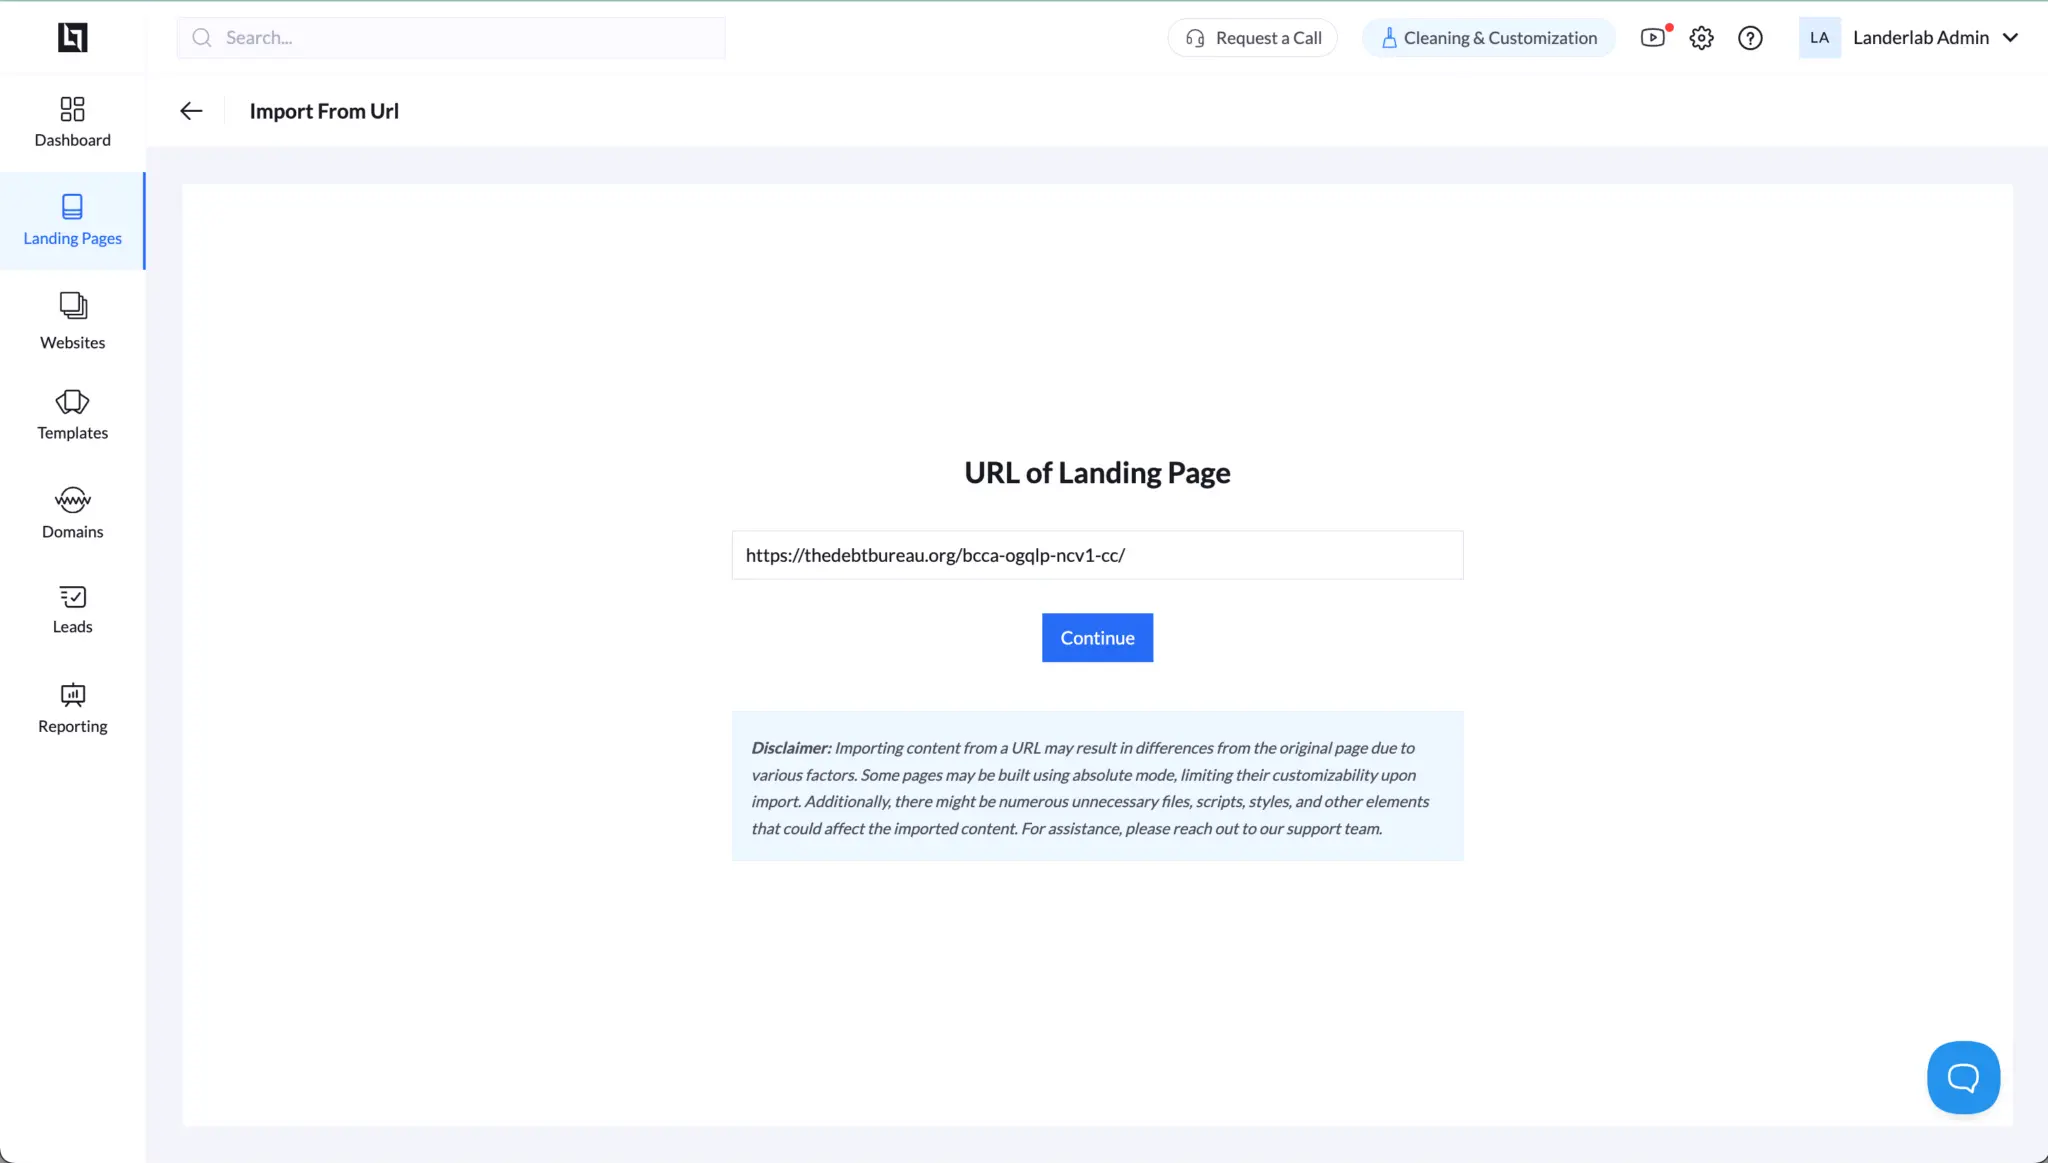
Use LanderLab to import a sample landing page from a URL you found in the Ad Library. You can then edit it in their drag-and-drop editor.
Make sure of the following:
Once your page is ready, publish it to your own domain and test it. Most calls will come from mobile users, so make sure the page looks great on phones.
📊 Step 3: Set Up ClickFlare Tracking
In ClickFlare:
Then, in Ringba, add Postbacks that notify ClickFlare whenever a conversion happens. Inside ClickFlare, link these events to Facebook’s Conversion API. You’ll then map each conversion to a Facebook Pixel event like “Complete Registration” or “Lead”.
📣 Step 4: Launch Your Facebook Ad Campaign
Now it's time to go live.
Choose interests related to finance, credit cards, or debt. Also, be sure to only run your ads during your buyer’s call center hours. If someone calls when no one is available to answer, the call might not count.
📈 Step 5: Watch Your Campaign and Improve It
Use Ringba to monitor everything in real time. You’ll see:
You can also talk to the agents receiving the calls to see if the leads are good. Based on that feedback, tweak your ad copy or landing page.
When testing, some people treat a 5-second call as a conversion, and anything over 10 seconds as a "quality" lead. That helps you learn faster and scale what’s working.
✅ You’re Ready to Roll
That’s it. You now know how to launch a complete Pay-Per-Call campaign using Facebook, even if you’re just starting out.
Keep it simple, test one thing at a time, and track everything. Once you see those calls coming in and converting, it gets really exciting.
Need help choosing your first offer or testing your setup? Feel free to ask!
START NOW!
In this guide, I’ll walk you through exactly how to set up your first Pay-Per-Call campaign using Facebook Ads, even if you’re brand new. We’ll use three simple tools to make it all work:
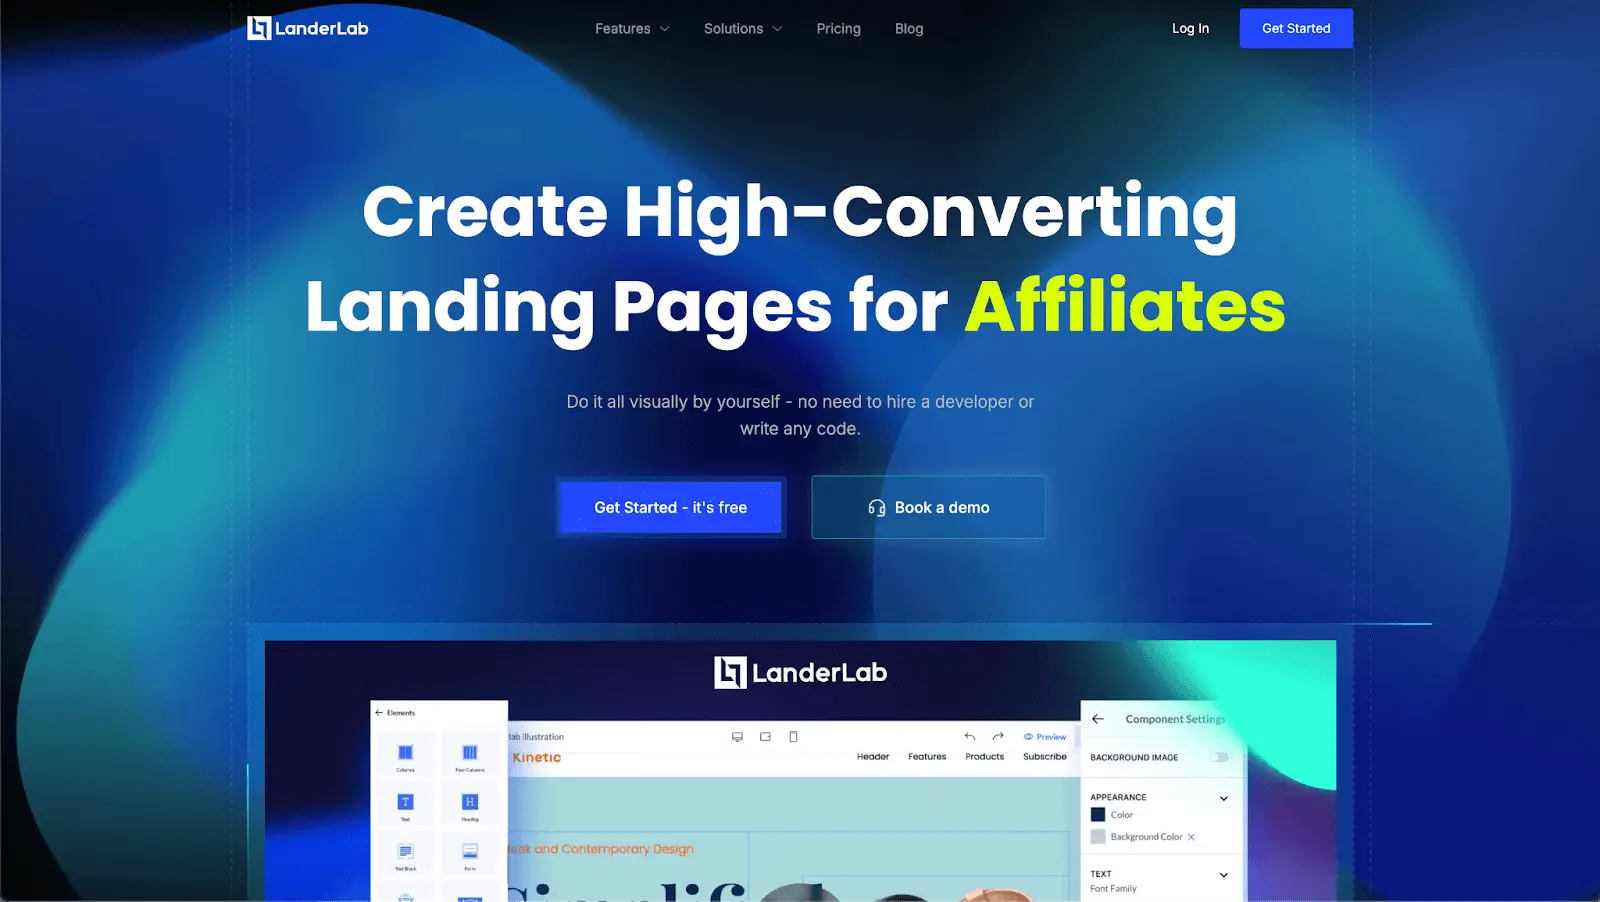
- LanderLab – To create your landing page
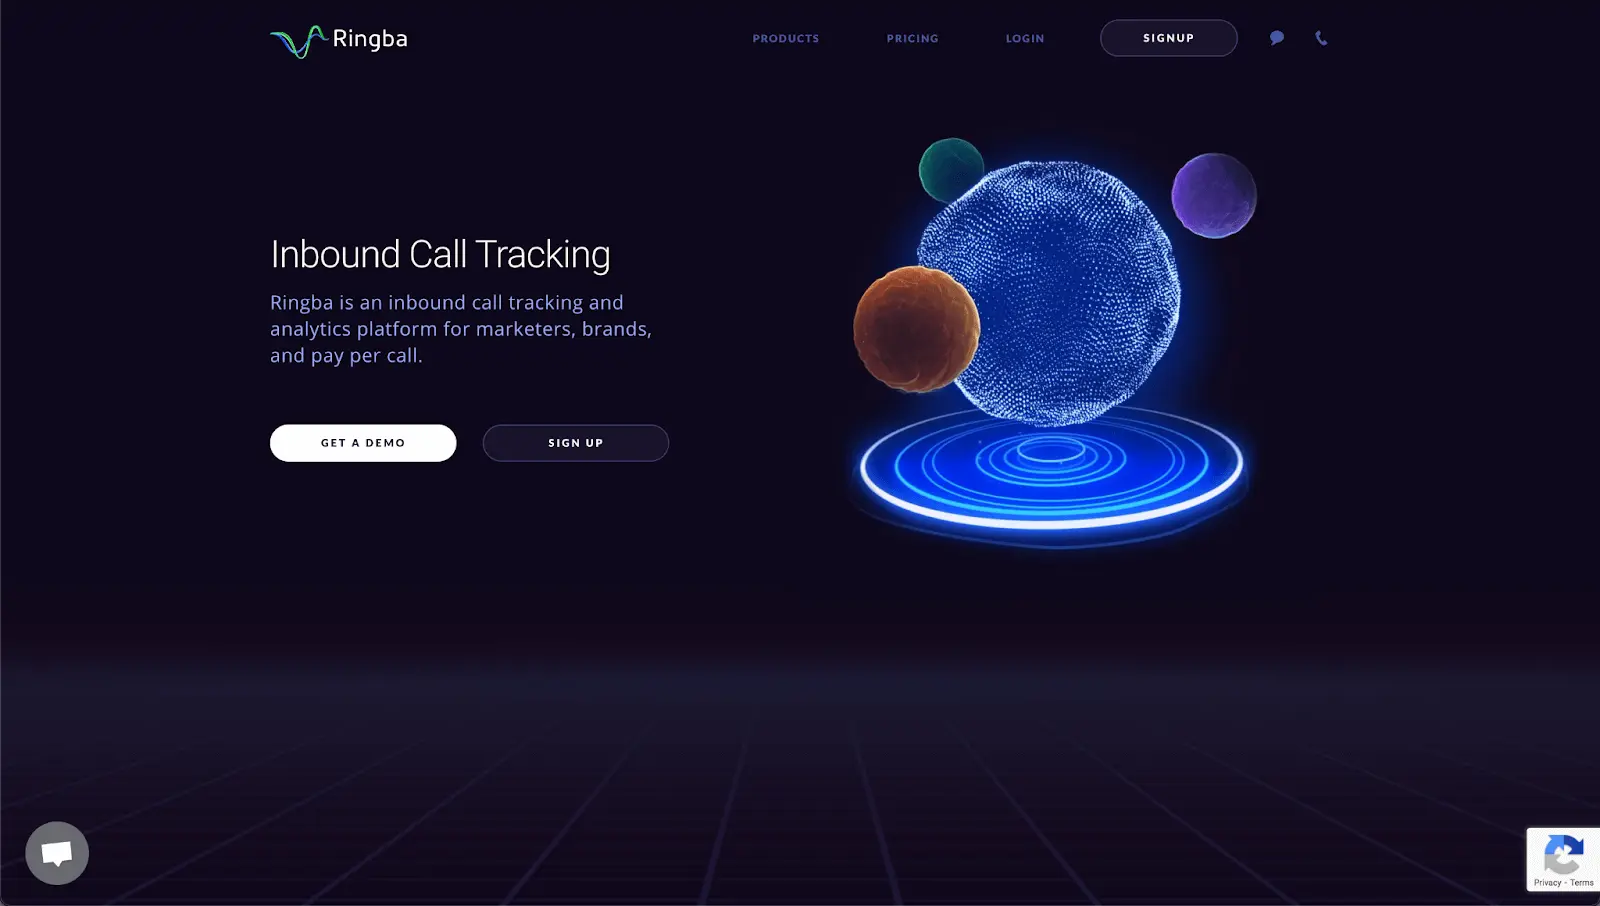
- Ringba – To track phone calls
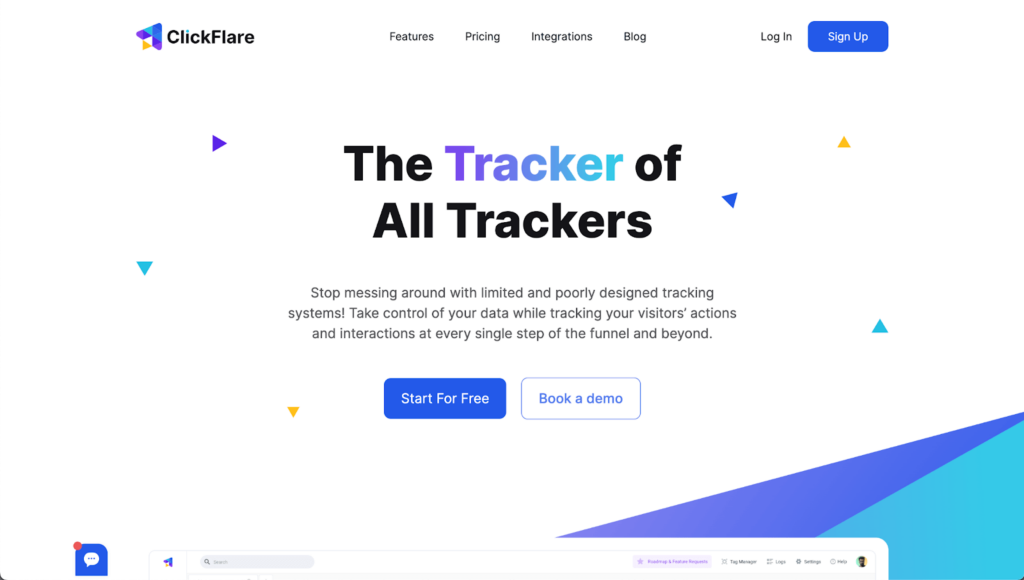
- ClickFlare – To track traffic and send conversion data back to Facebook
🧠 Why Facebook Works So Well for Pay-Per-Call
Facebook is still one of the top traffic sources for Pay-Per-Call. It lets you target people based on interests, demographics, and behaviors. Plus, you get social proof through likes and comments, which helps build trust.
A great place to start your research is the Facebook Ad Library. Search for offers in niches like Debt Relief and see which ads have been running for weeks or even months. If they’ve lasted that long, they’re probably working. Use those ads for inspiration but don’t copy them exactly.
You can also ask your affiliate manager what kind of audience works best for the offer. For example, if you’re promoting a debt relief offer, they might tell you to target people with over $10K in unsecured credit card debt.
🔧 Tools You’ll Need
- LanderLab – An easy-to-use landing page builder that lets you import pages and customize them. If you book a demo call before using it, you’ll get 20% off, so that’s worth doing first.
- Ringba – This is what you’ll use to track phone calls and route them to the right buyer. You can set rules like time of day, location, and call limits.
- ClickFlare – This helps you track visitors from Facebook and send conversion data back to Facebook using their Conversion API. That helps the algorithm optimize your ads faster.
☎️ Step 1: Set Up Your Ringba Account
Start by creating a call campaign in Ringba:
- Add the phone numbers provided by the buyer or affiliate network.
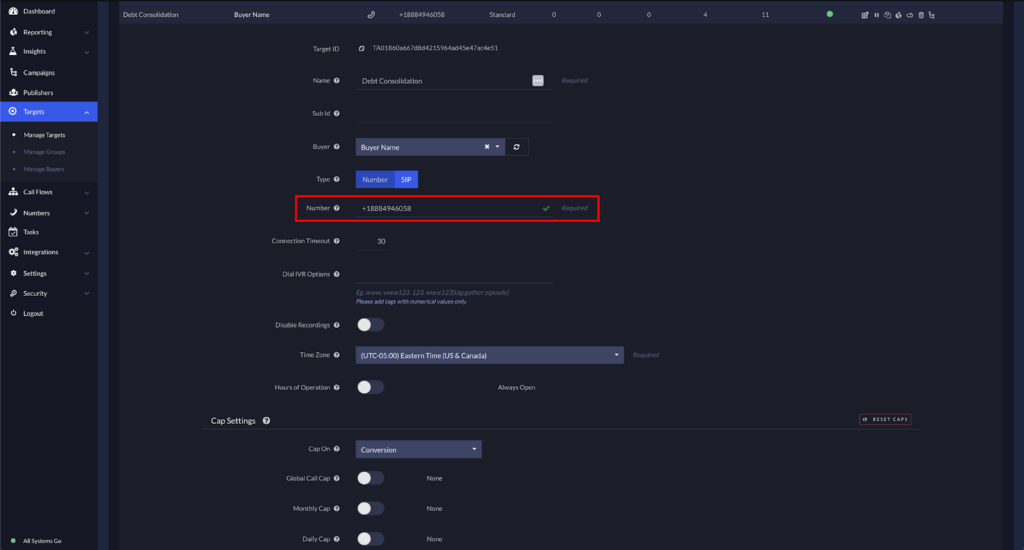
- Set rules like operating hours, accepted states, and how many calls per day each number should get.
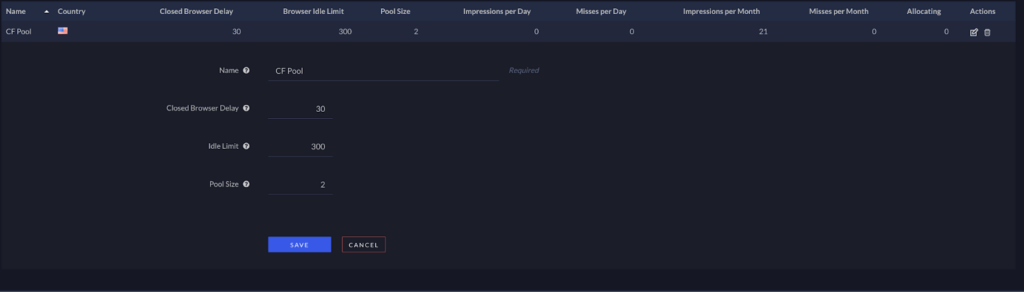
- Create a number pool, which shows each visitor a unique number so you can track them individually.
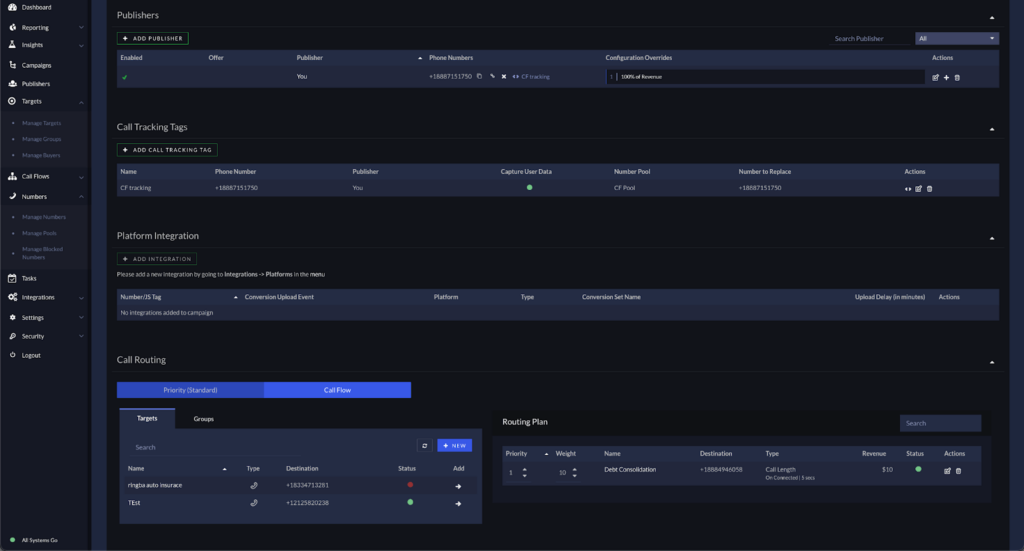
- Set up a routing plan to control where calls go, and define a conversion goal, like a call lasting 120 seconds or more.

Make sure to turn on tracking URL parameters, especially clickid, which will let you track conversions in ClickFlare later.
🌐 Step 2: Build Your Landing Page in LanderLab
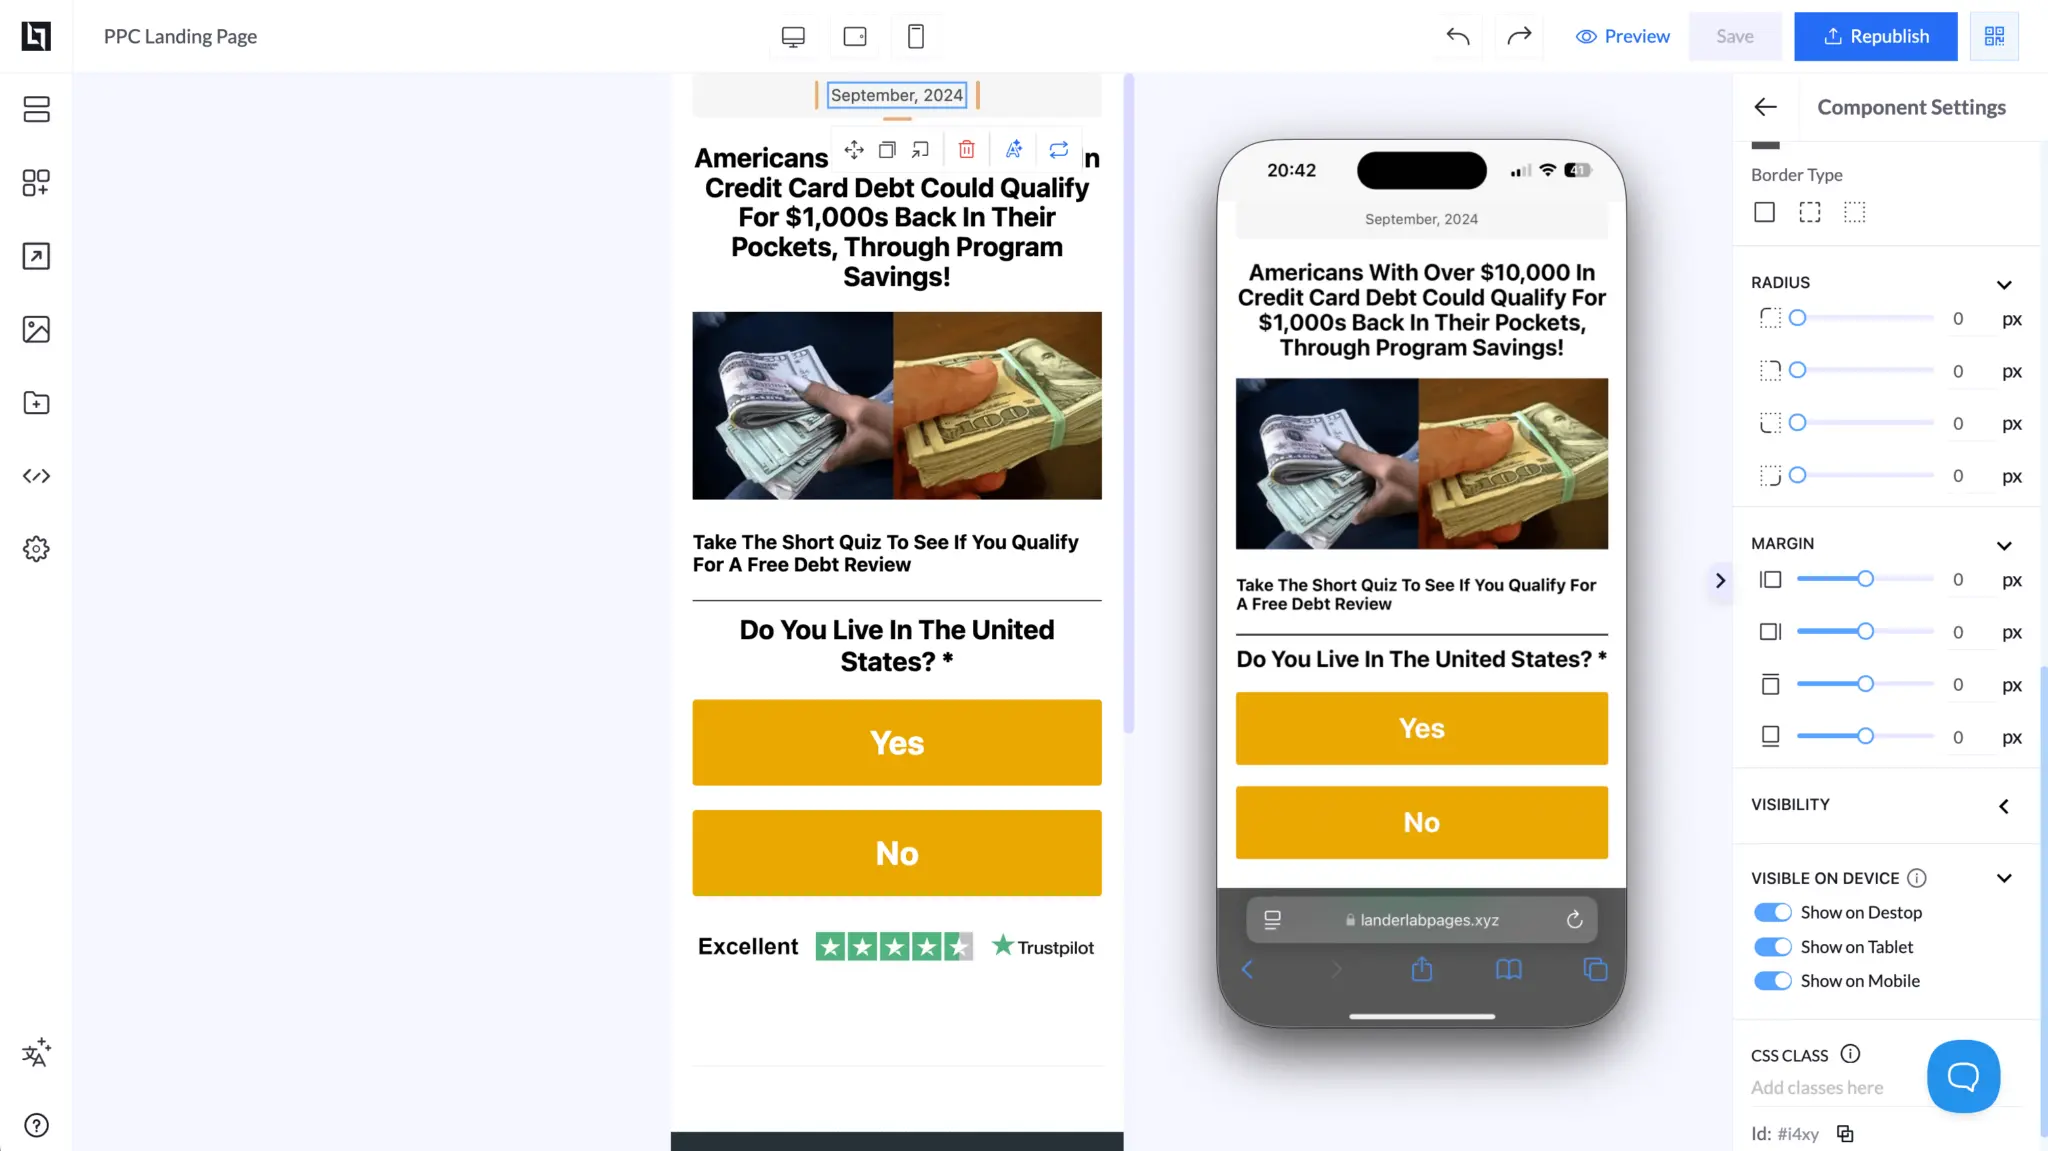
Use LanderLab to import a sample landing page from a URL you found in the Ad Library. You can then edit it in their drag-and-drop editor.
Make sure of the following:
- Your call-to-action button or phone number is visible immediately, without scrolling.
- You integrate Ringba’s Dynamic Number Pools, so each visitor sees a unique phone number.
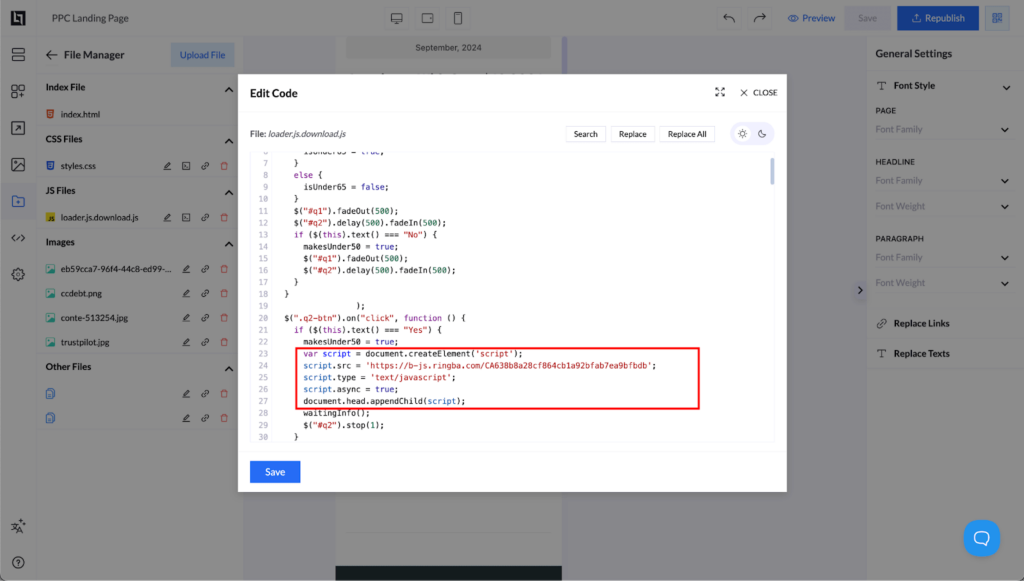
- You add the Ringba JavaScript snippet to the page so it tracks each visitor and call correctly.
Once your page is ready, publish it to your own domain and test it. Most calls will come from mobile users, so make sure the page looks great on phones.
📊 Step 3: Set Up ClickFlare Tracking
In ClickFlare:
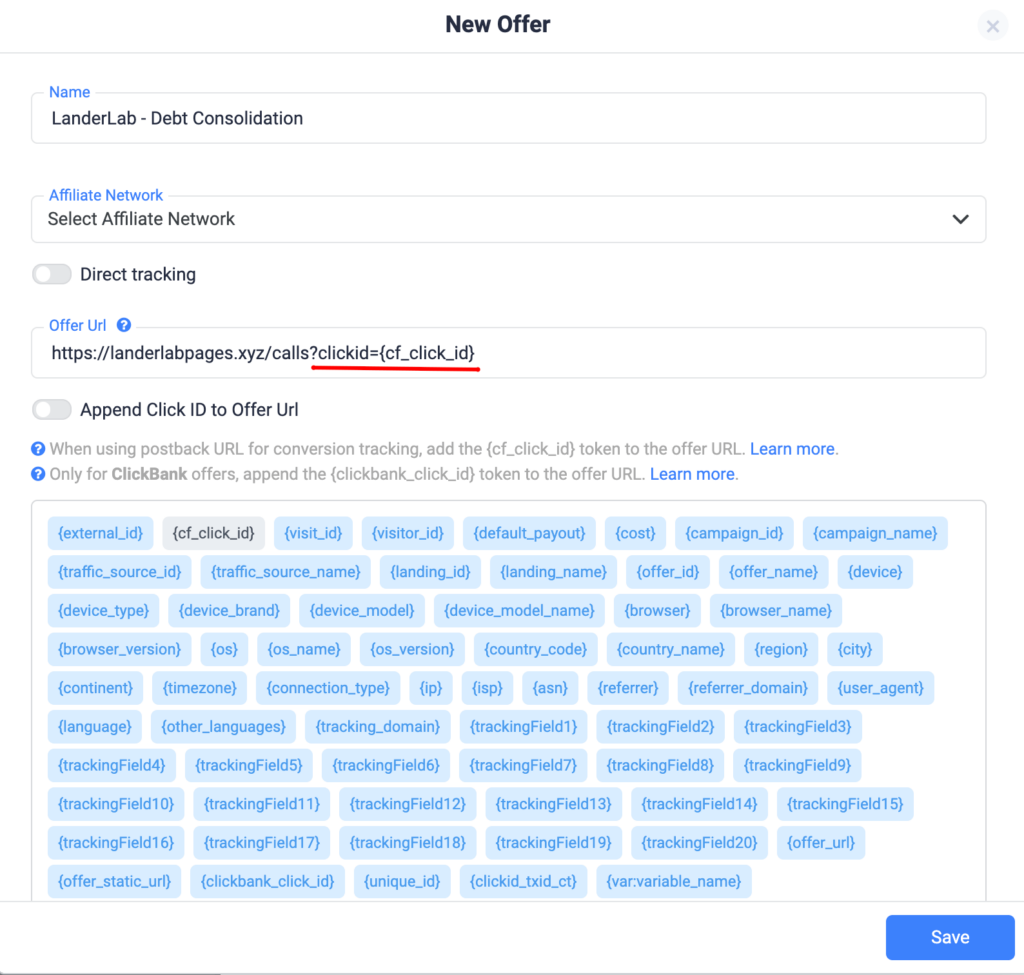
- Add your landing page URL as an Offer, and make sure it includes the tracking parameter: clickid={cf_click_id}.
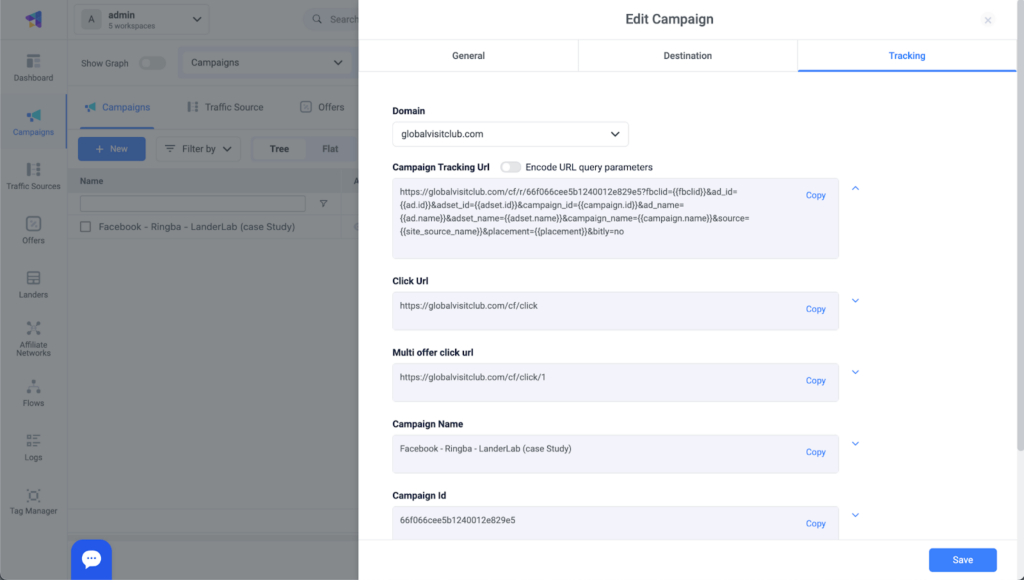
- Create a Campaign and choose Facebook as your traffic source.
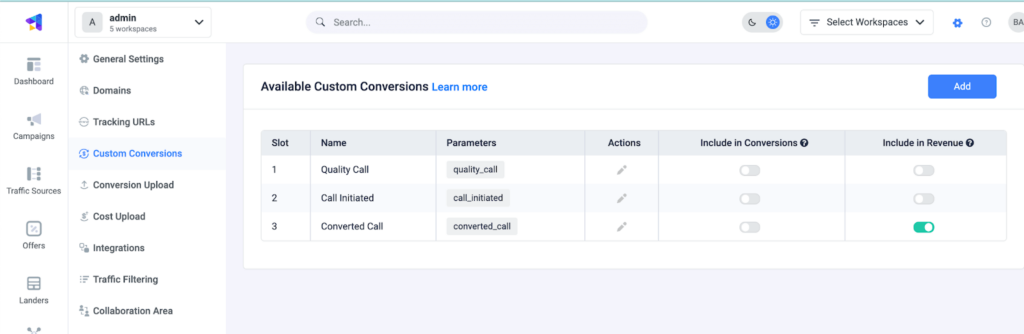
- Set up Custom Conversions like:
- Call Initiated (someone clicks the phone number)
- Converted Call (meets your Ringba goal, like 120 seconds)
- Quality Call (for example, calls over 50 minutes, which usually means a strong lead)
Then, in Ringba, add Postbacks that notify ClickFlare whenever a conversion happens. Inside ClickFlare, link these events to Facebook’s Conversion API. You’ll then map each conversion to a Facebook Pixel event like “Complete Registration” or “Lead”.
📣 Step 4: Launch Your Facebook Ad Campaign
Now it's time to go live.
- Write your ad copy clearly. Let people know what happens after they click the ad.
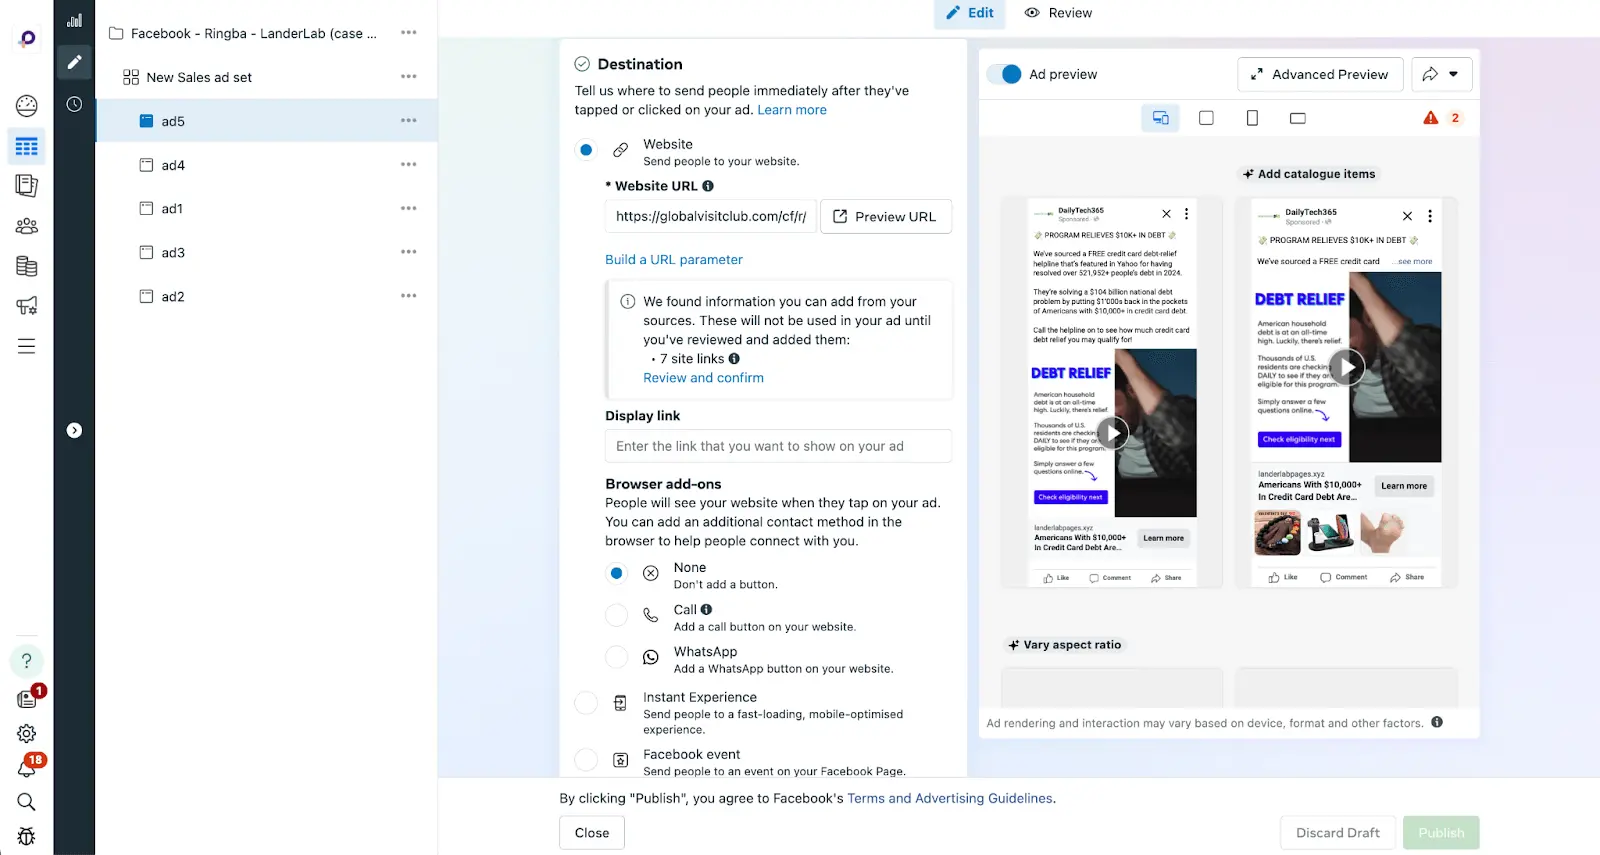
- Mention that they’ll talk to a real person, not a bot or automated system.
- If you’re in the Debt Relief niche, optimize your campaign for the “Complete Registration” event, which you mapped to quality calls earlier.
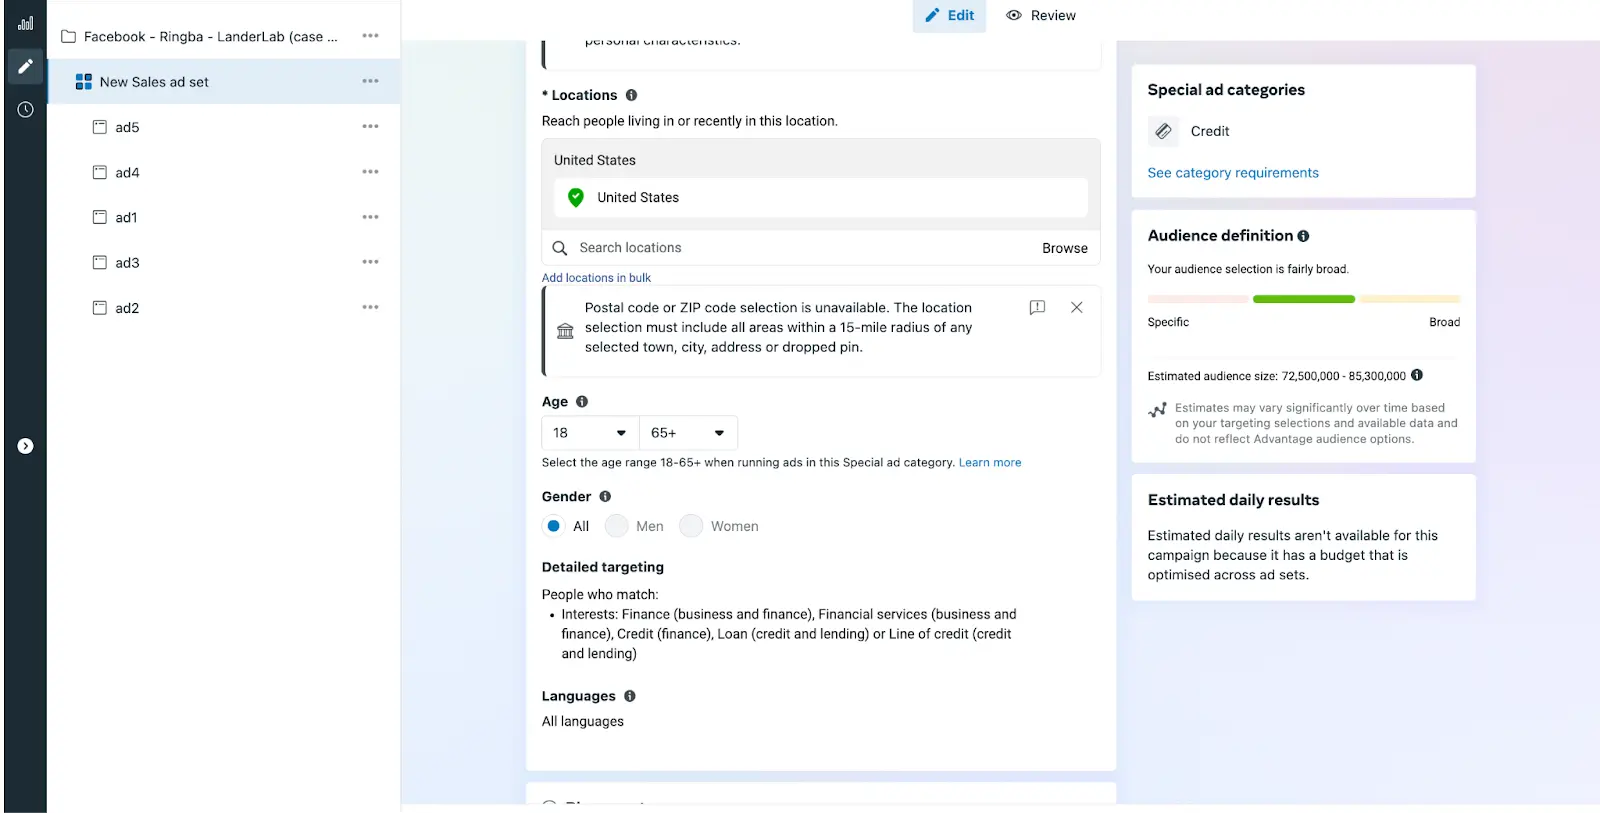
Choose interests related to finance, credit cards, or debt. Also, be sure to only run your ads during your buyer’s call center hours. If someone calls when no one is available to answer, the call might not count.
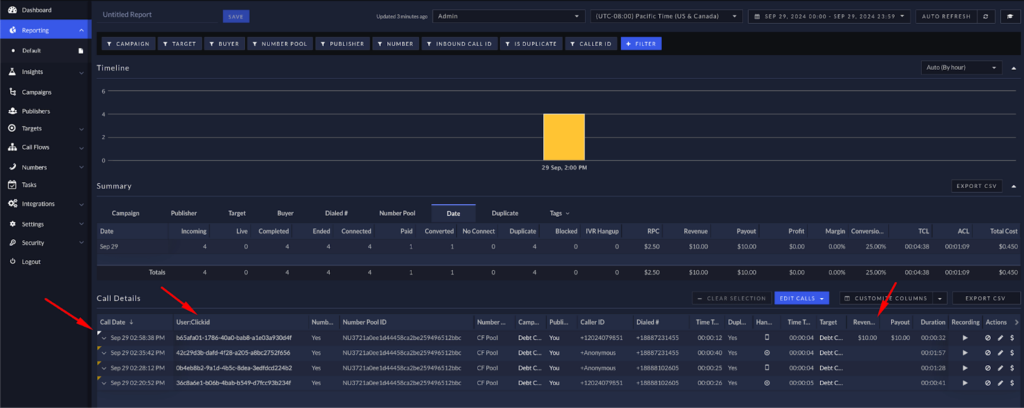
📈 Step 5: Watch Your Campaign and Improve It
Use Ringba to monitor everything in real time. You’ll see:
- Which visitors called
- How long they stayed on the phone
- What they said, if you listen to call recordings
You can also talk to the agents receiving the calls to see if the leads are good. Based on that feedback, tweak your ad copy or landing page.
When testing, some people treat a 5-second call as a conversion, and anything over 10 seconds as a "quality" lead. That helps you learn faster and scale what’s working.
✅ You’re Ready to Roll
That’s it. You now know how to launch a complete Pay-Per-Call campaign using Facebook, even if you’re just starting out.
Keep it simple, test one thing at a time, and track everything. Once you see those calls coming in and converting, it gets really exciting.
Need help choosing your first offer or testing your setup? Feel free to ask!
START NOW!